Emily Brown • July 18, 2024
Brand Photoshoot Tips to Elevate Your Digital Marketing
More than imagery: create a valuable digital asset with these brand photoshoot tips
You might be considering brand photography for your business before investing in a website design or other marketing strategy. My advice: do it! But where do you start? What kinds of images do you need to suit what purposes, and how should you prepare? You're in the right place. I've experienced both sides of this situation, so read on to discover my handiest brand photoshoot tips.
Today you'll hear about my personal experience with brand photography and all the technical recommendations your digital providers wish you knew. Let's dive in!
My brand photoshoot experience
Things were feeling lacklustre in my biz. I needed a refresh and a confidence boost, and decided to take the leap with brand photography. Spoiler alert: I've never looked back! I searched Instagram for a local photographer and found one in Townsville whose work matched my vision.
I'd thought of everything: a venue, the hotel room for getting ready (I lived 90 minutes away), multiple outfits and a pre-shoot haircut & blowdry. I left home early with some shoe shopping still to do, and everything went according to plan. I'd checked into the hotel with luscious locks by 2:30, plenty of time to do my makeup and make the 5 minute drive to the venue for a 4 o'clock start.
All went well until that point, but sometimes the smallest things trip you up. This day, the hurdles that got me were over-sensitive skin and expired makeup products. One mental breakdown later, I was starting over with my makeup at 3:30. Thankfully, my sister was there to save the day.
We were still an hour late to the two-hour shoot and I've never felt so terrible. Our photographer offered to reschedule but I'd come this far and was determined to continue, so we did — tired, frazzled and definitely not in the headspace I would've liked. Nevertheless, she was utterly wonderful and produced some incredible results despite the circumstances.
Brand photoshoot tips I would have benefited from knowing:
- Focus — don't divide your attention on photoshoot day. Headspace matters when you're in front of a camera. My day started before 8AM and the shoot wasn't until 4. There was no way around the need to travel, but I could've left out the morning's unnecessary errands. I thought I was being efficient, but there's nothing beneficial about being exhausted for a thousand-dollar photoshoot.
- Vendors — yes, they cost extra. Book them anyway. The truth is, I'm a far cry from makeup artist. I was already overspending on travel-associated extras and thought this was one thing I could do myself. In hindsight, being stress-free and on time would've been worth more to me than spending the extra money on a professional service. Us ladies know that even the best of us have bad makeup days — don't chance that one of yours will happen an hour before the shoot. Save the stress!
- Venue — make sure it's the right fit for you. Living out of town hadn't afforded me the luxury of visiting my venue before the shoot. Though beautiful, it was public, and I'm camera shy at the best of times. People everywhere only added to my stress levels and meant that some of the photographer's preferred locations were already in use. It just wasn't quite the right fit — next time you'll catch me researching private venues with studio vibes.
- Photo Checklist — have a list of planned shots. In my head I knew the kinds of shots I wanted to get. Trying to recall them on the spot while being stared at by passers-by was another matter entirely. My best advice: put together a Pinterest board with pose/prop inspiration and write a short list of essential shots, then share both of these with your photographer. A loose structure helps guide the shoot, keeps you and your photographer on the same wavelength and allows room for experimenting with candids for best results!
Despite the challenges (most of my own creation) I had a lot of fun and was ecstatic with the results. My new photos gave me the confidence I needed to start showing up online more. I felt more authentic and professional and so did my business, and it made me all the more excited for the next one to be even better!
Brand Photoshoot Checklist
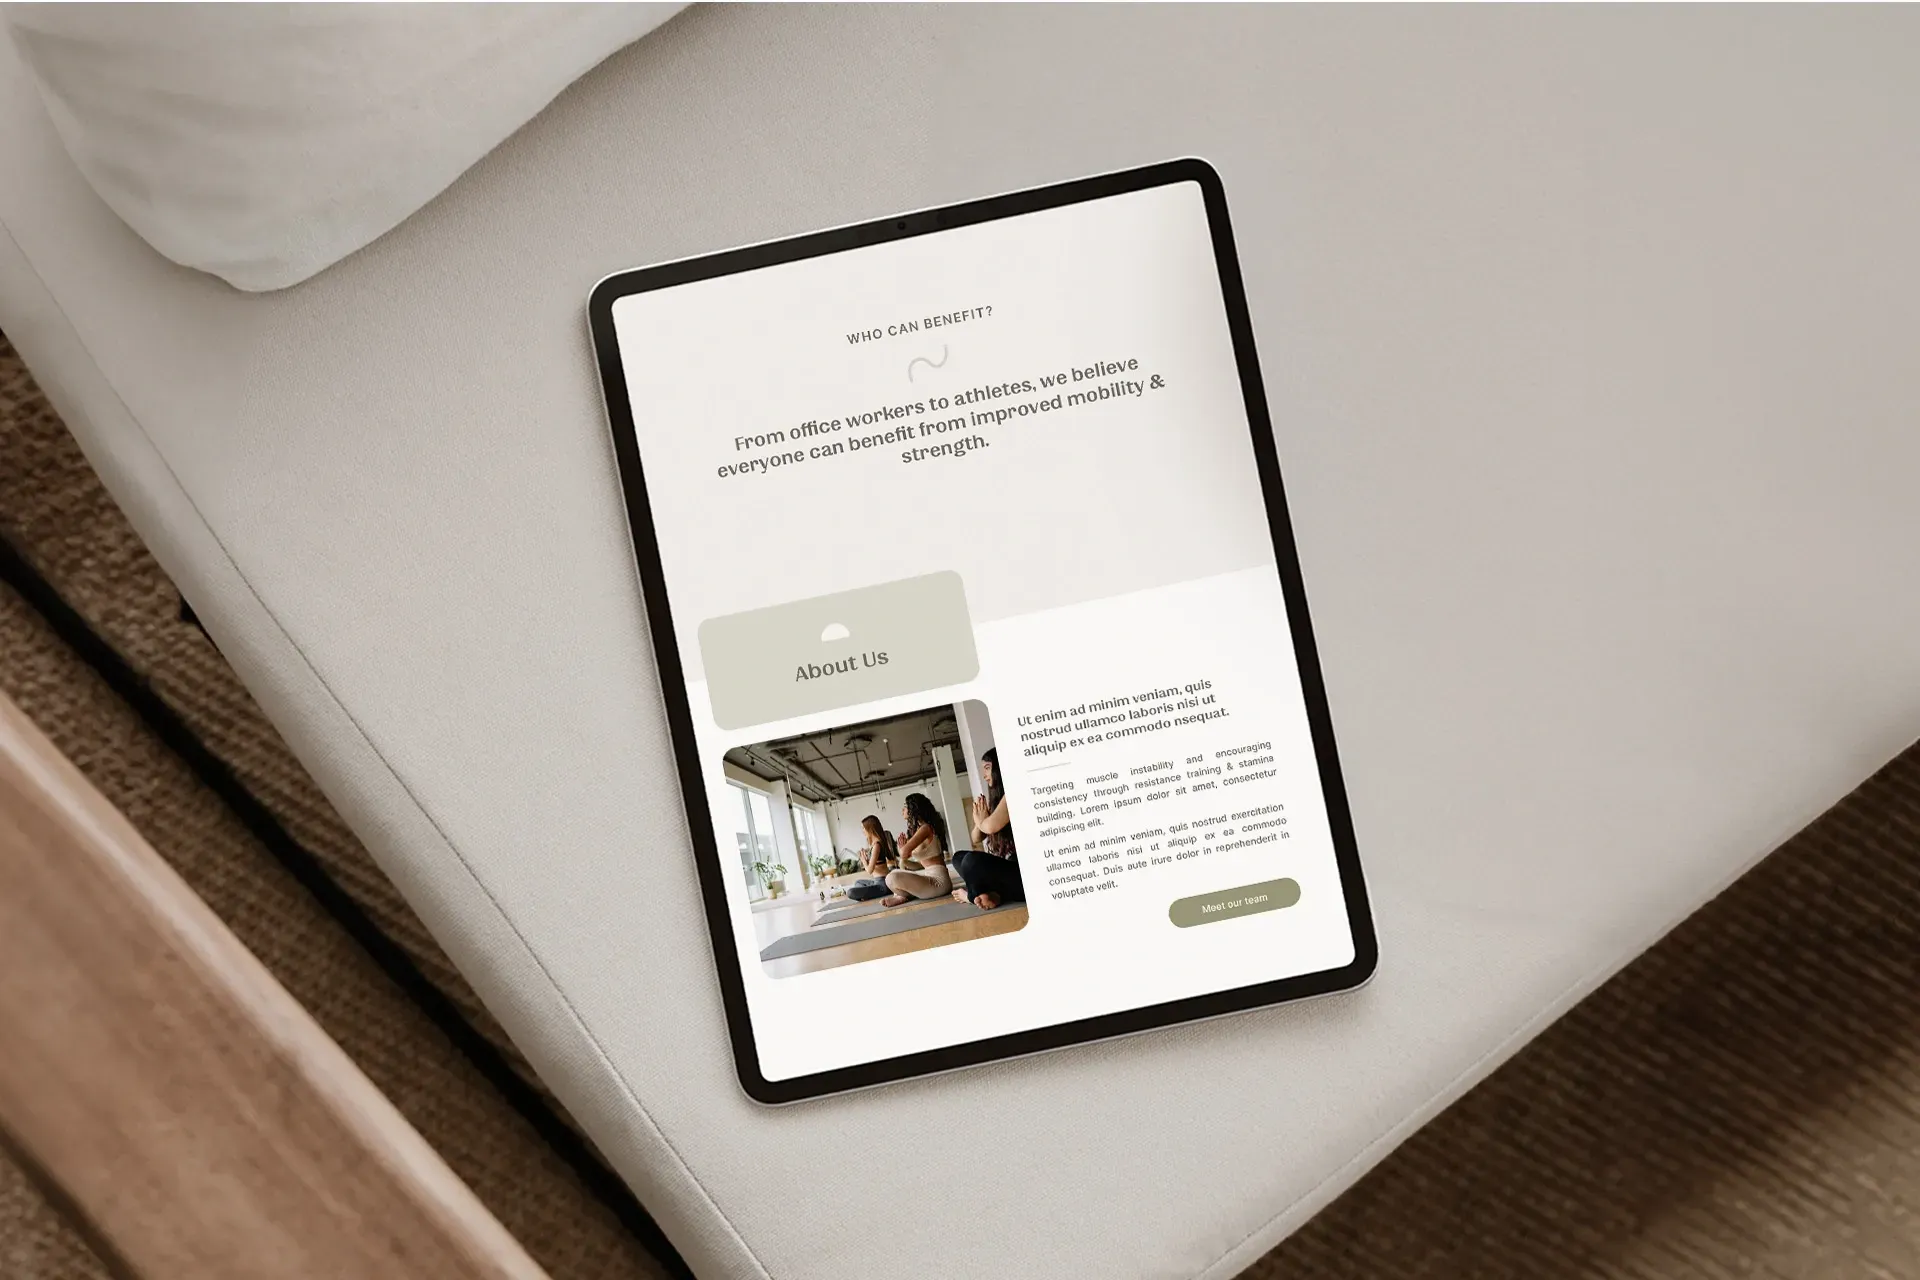
Orientation refers to the orientation of your images, also known as wide/landscape or tall/portrait images. It's important to get a good blend of the two, as each type has different uses. Wide shots are great for your website and digital marketing, while tall ones are great for socials.
A web designer's greatest fear is opening a photo gallery with 80% tall shots — try to go for 50/50 or somewhere close to that range.
1 — Image Orientation

Tall shot example
Wide shot example

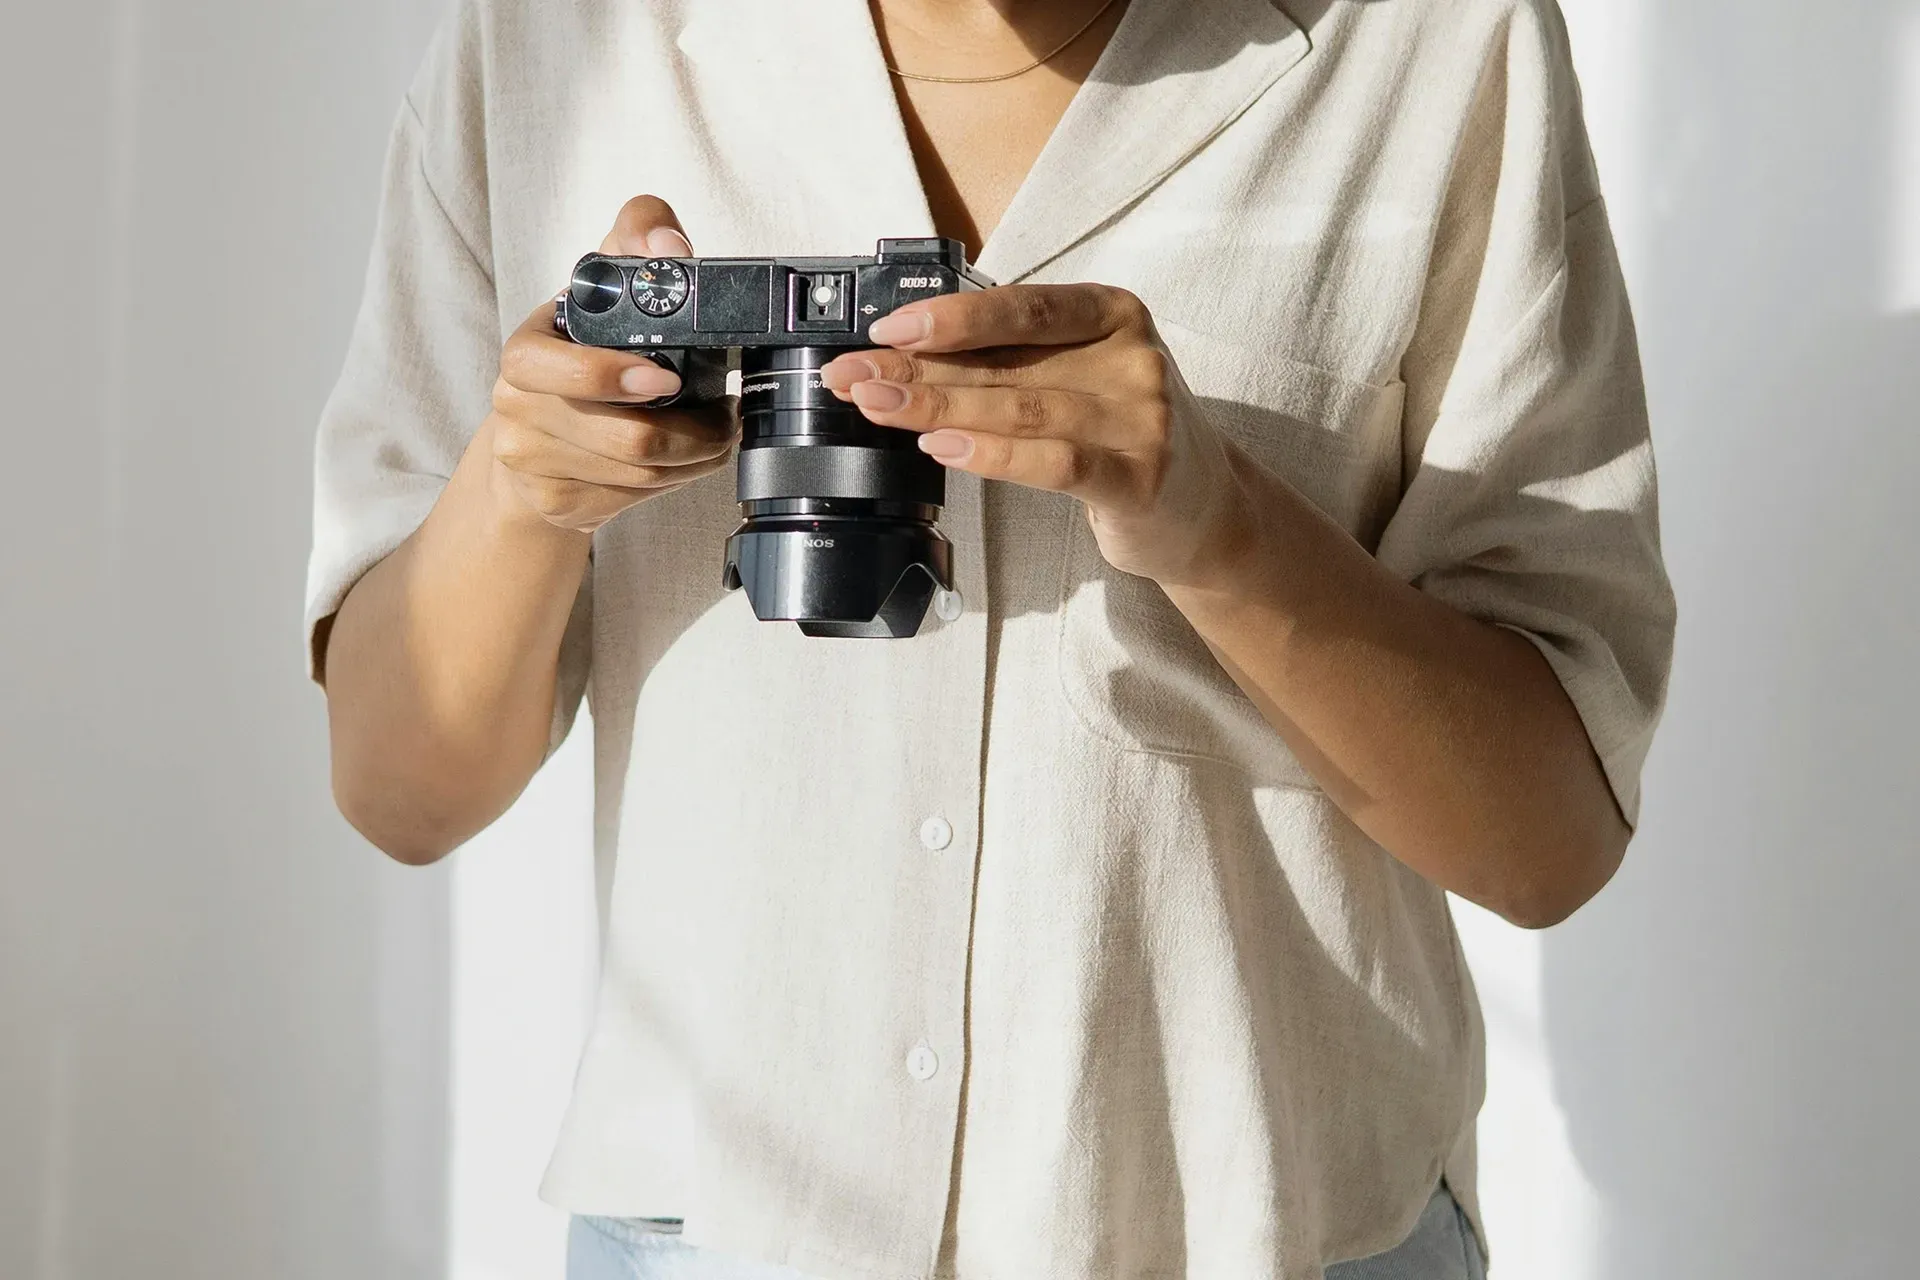
2 — Personal, Team & Business Shots

Portrait shot example

Action shot example
Product shot example
These should make up the vast majority of your photos (around 80-85%). Depending on your industry, needs and messaging, you may need more or less from each category. This is why it's so important to create an outline of essential shots!
Referring back to the type and quantity of content you want to include on your website can help you decide where the bulk of your photoshoot should be allocated.
- Headshots — professional headshots of yourself or team members. Generally taken looking at the camera from the waist up.
- Uses: team images on your Meet Our Team webpage, social media/author/event profile pictures, social media content
- Why you need them: professional applications mentioned above.
- Portrait (personal) shots — fuller/real-life shots of yourself or team members in a less-serious capacity than a headshot, generally posed or candid. Taken both when looking and not looking at the camera.
- Examples: writing, typing, walking, talking, posing, with or without props
- Uses: these images are universal across all aspects of your business. They apply to digital platforms like your website & socials and physically printed marketing materials.
- Why you need them: more relaxed than headshots, these are great for showcasing yourself and team. They allow viewers to connect with your business and get to know you.
- Action shots — shots of yourself, business, product or service in action. Generally contain one or more people interacting. Consider using your team members as "props" (or "clients") here!
- Examples: meeting/consulting, performing a service or action, talking, walking, with or without props
- Uses: these images are universal across all aspects of your business.
- Why you need them: great for showcasing your services and/or team in action. They allow viewers to get comfortable knowing what to expect from your service.
- Portfolio shots — staged shots of your work, taken onsite or used as printouts/props. This one is for business owners in the design industry.
- Examples: onsite location photos, design element props (colour/material swatches, inspiration images, printouts)
- Uses: these images showcase your work portfolio in a professional way.
- Why you need them: portfolio images present your business and design style in a way that adds value to your service and attracts the right audience. They help viewers visualise themselves as a potential client and put you leaps and bounds ahead of the competition still using iPhone shots.
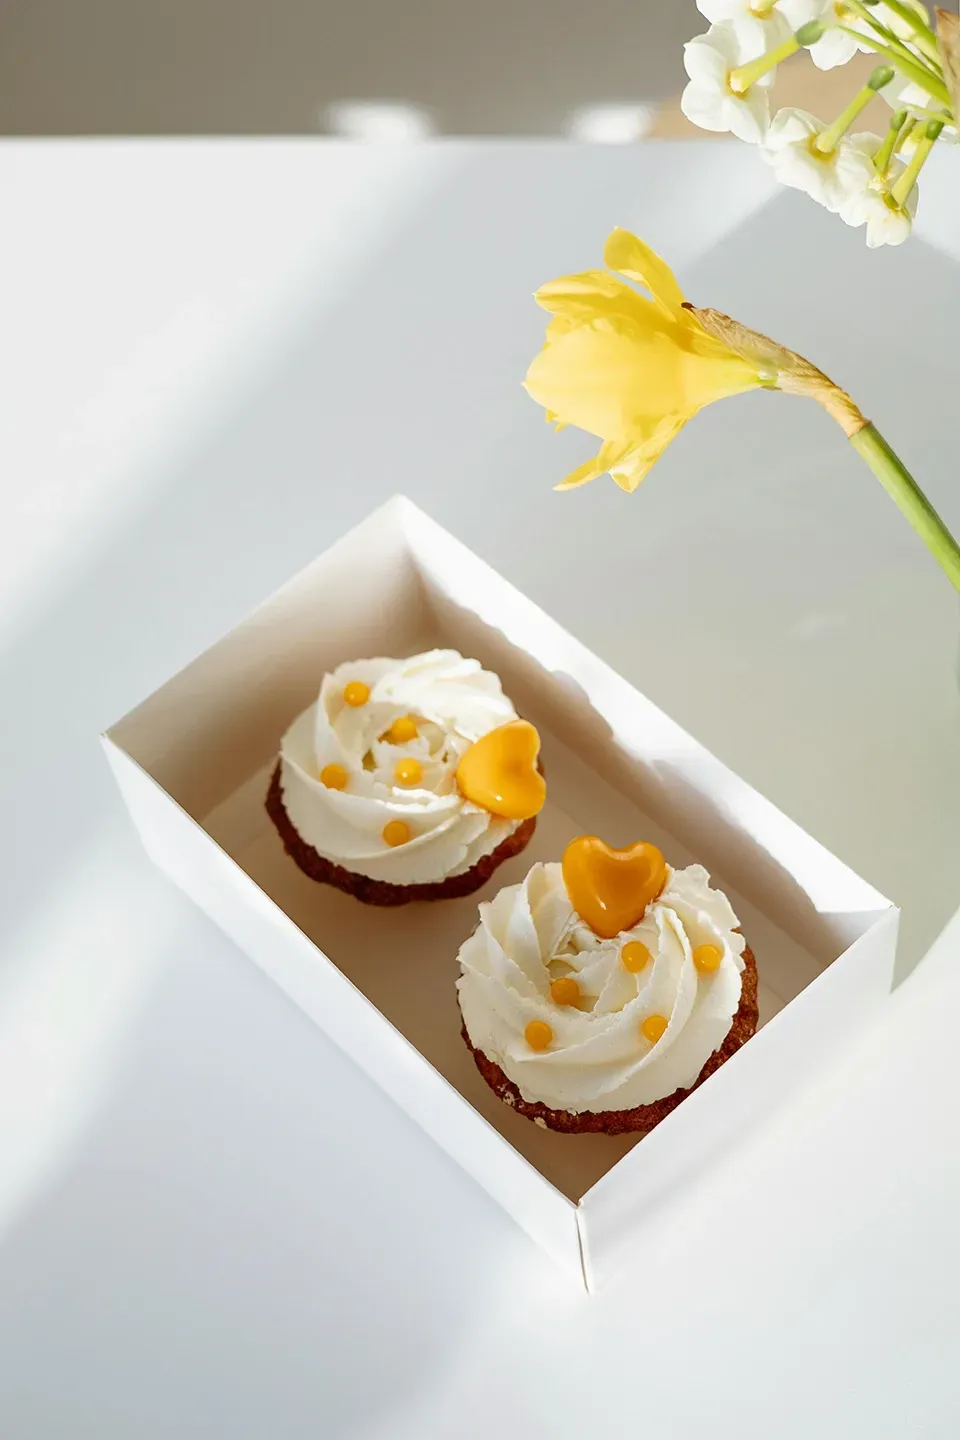
3 — Faceless/Detail Shots
Don't worry, you're not about to receive a faceless marketing sermon. Rather, faceless and detail shots are perfect for background use in every application imaginable, because you don't have to worry about the awkward placement of faces.
If you squint, you'll see me on the rooftops shouting about detail shots. They're most often the ones that are forgotten about, but add so much value to your brand photography. The amount you'll need will vary based on your industry, but around 15-20% detail shots are the dream of your creative marketing team.
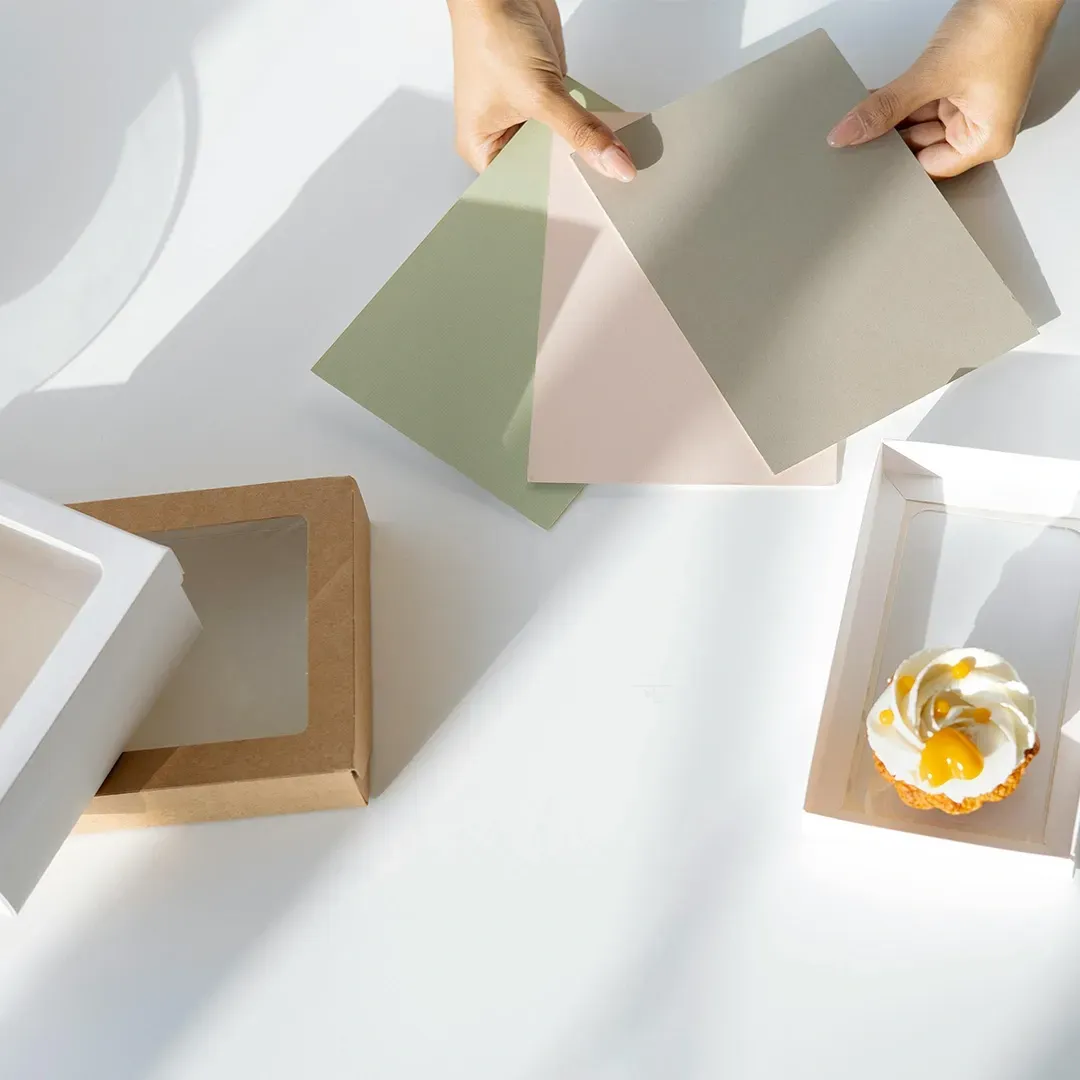
- Detail shots — close up shots of clothing/accessories/props/tools/latte art (anything, really), usually involving some kind of action. Detail shots don't include faces at all, or the face is stylishly concealed behind a book, magazine etc.Examples: almost any action (typing, writing, posing, pinning a photo to a board, shaking hands, providing a service)
- Uses: these images are universal across all aspects of your business.
- Why you need them: there's a long list of creative and marketing applications where on-brand detail shots are a perfect accessory, from your website to socials to print.
- Location shots — shots of your office, business or shoot location. May or may not include people, faceless rules apply as listed above.Examples: wide shots of your office (make sure to tidy up!), shoot location, accessories/tools/props etc, actions
- Uses: these images are universal across all aspects of your business.
- Why you need them: location shots allow viewers an insight into the interior of your business. For many people, this increases their comfort and trust in you.
Using the magic formula
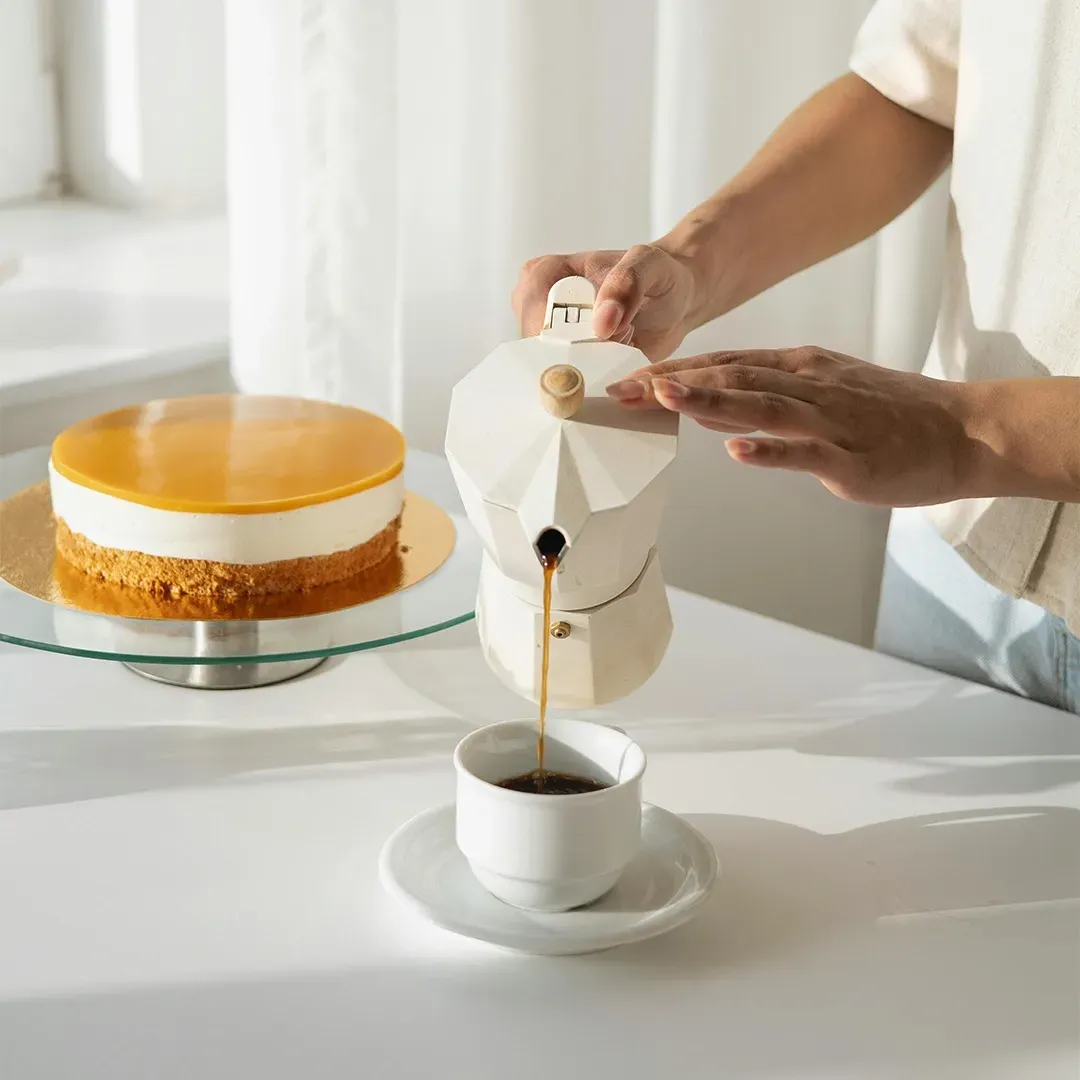
Detail shot example
Detail shot example
Even though some of these images almost feel like stock images, you can tell they're all part of the same cohesive collection. Looking at these, you might even be able to understand why you need them and how you would use each image type in different applications. Cool, right?
To recap your brand photoshoot magic formula, aim for 80-85% Personal/Team/Business shots and 15-20% Detail/Location shots, with a 50/50 ratio of tall to wide shots (or thereabouts).
Become an industry standout with brand photoshoot tips to elevate your marketing strategy
Resources
I mentioned before that I've never looked back since investing in brand photography for my business. The first time seeing those images lent me such validation and confidence in myself as a business owner, and I still feel that to this day. I've since used them in profile pictures, social media, ads, my website, lead magnets, email marketing and almost every application imaginable.
If you were on the fence about investing for yourself, I hope these brand photoshoot tips help your decision! When it comes to the next step in preparing your new images for your website, learn more with our Website Content Checklist: How to Prepare For Your Website Build.
- In this series:
- Website Content Checklist: How to Prepare For Your Website Build by Ochre Design Studio. Prepare for a successful site launch with our top tips to develop effective website content, from brand photography to copywriting.
- All images contained in this blog article by the talented Anna Nekrashevich on Pexels.

Emily is the lead web designer & digital strategist at Ochre Design Studio. She understands the importance of online discoverability & conversion for business owners, and combines a unique blend of these techniques with visual design to create powerful websites that convert. Emily enjoys piping hot tea, strategic scheming and chasing after her very excited cattle dog.
Would we make a great fit for your branding, web design or marketing project?
View recent posts